Monday, 21 April 2014

Creating Foliage - Trees

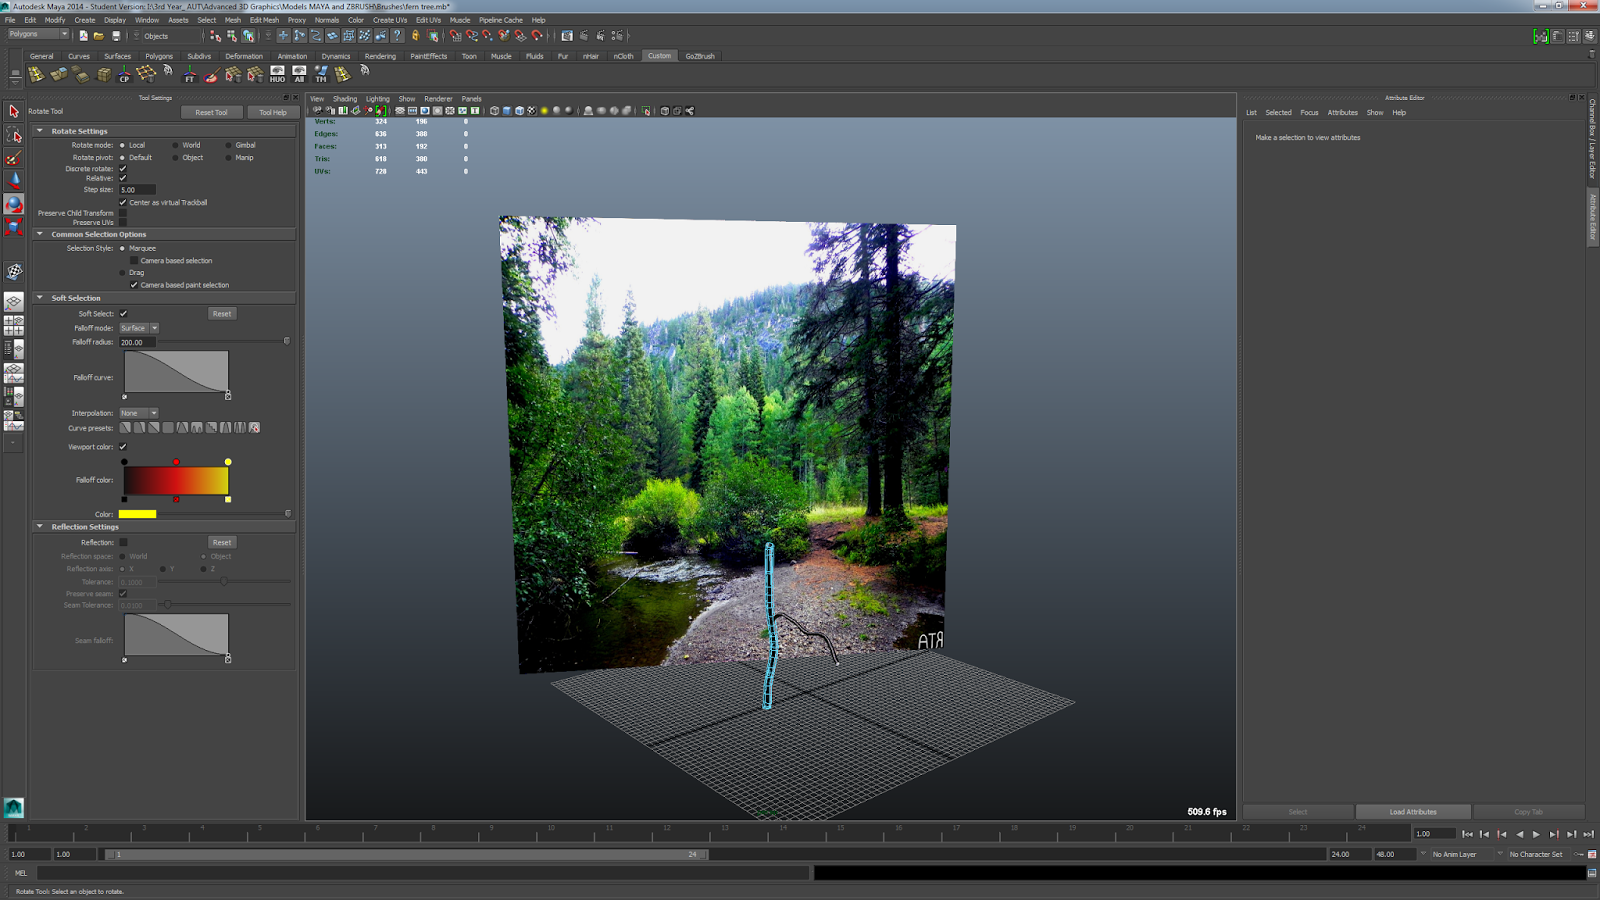
When creating trees i usually follow a certain technique using curves to make the shape of the trunk and from there extruding a cylinder to the curve which follows the path.

Firstly adding the trunk base and using the UDK character for scale.

I created a plane and took some reference that i was using at the time and put it onto the plan as a texture, so i can use it during i create my tree in the scene. I also put it on a different layer and
By duplicating the trunk and using soft select i can create a pointed end and varied branches. 


Finished the branches now i need to make this geometry live and start connecting planes onto the surface.

Here is the final version of the tree inside of Maya.

Finally i export it from Maya and into UDK.


Week 10 Phiscal based rendering

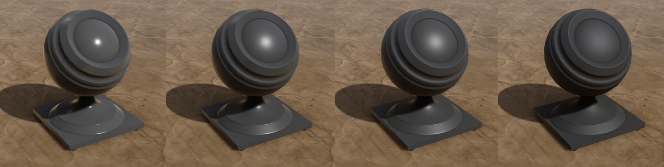
This week we had a presentation on Physical based rendering or PBR.


I found PBR quite interesting, It's clear that PBR is going to get bigger in next generation of games and i think a lot of engines will take it further to make materials and surfaces as realistic as possible.

One place where PBR can be seen is in film CGI.

Sunday, 20 April 2014

Using Colour Grading LUT in UDK - Final

Recently I came across a feature in UDK that allows you to dramatically change the colors in your scene using a Look up table. The guide i used to follow out this is from 3DTotal on YouTube. [2]

This method is fairly quick to do, with a little Photoshop knowledge using layers and adjustments to change the over color of the environment.

This is the strip that can be found the epicgames website as well as how to plug in the look up table into your scene. [1]


Original strip


Modified strip altered in Photoshop.

Circled here in blue is the strip and the number of layers to adjust the colour of the screenshot taken. 

Once the LUT has been created it can be used by ticking 'Color Grading Lookup Table' and selecting the modified RGB Table.

Instantly changing the mood of the scene.


References:

http://udn.epicgames.com/Three/ColorGrading.html [1]

https://www.youtube.com/watch?v=7g6kyZ7kRPs [2]

Week 11

This weeks lecture was based on Compositing, the idea of Composting is to combine elements from different sources into a single image.


We looked briefly at history of where composting as been used.

Oscar G.Rejlander - The two ways of life 1857
Combined images from 32 different glass negatives to produce a single print


I think the best part about composting is that it can be used to great effect and be so seamless problem is that it takes a long time.


Optical Printing/Compositing- The process of combining 4 celluloid. A foreground image and its matte (male matte) with a Background plate and its matte (female matte). These are composited onto a clean film using an optical printer

Used right up to about 1992
Computer controlled during the 80s
Modern techniques derived from this


Rotoscoping

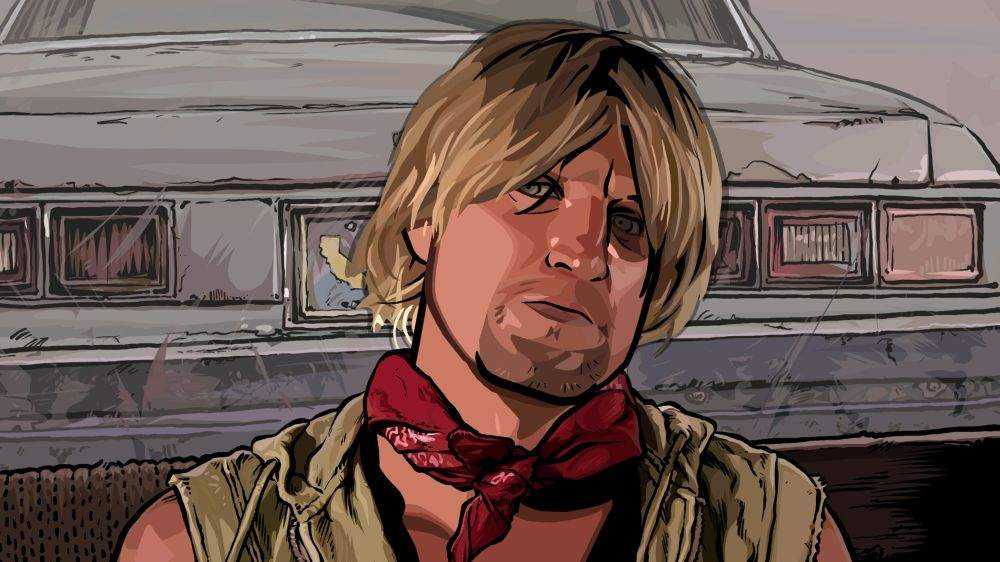
A tedious process, in which the technique is where an artist will trace over live footage to create a mixed media.

An example would be Scanner Darkly from 2006:


Matte painting.

Originally, visual effects artists used matte paintings to  create "virtual sets" and "digital backlots" to solve the same problems in a more powerful, flexible manner. But these new technologies have their roots in traditional matte painting technique.


Here on the left is the original matte painting.


On the right is the complete matte painting composite.


Digital composting is of today's technology and is on the rise along with Computer generated imaging makes it easier and faster.

An example of a modern day film that uses digital imaging is the film 'The Truman Show' shown in images below.
Photography in the town of Seaside, Florida
Final composite establishing the downtown area.


http://www.matteworld.com/projects/siggraph_1.html
http://www.matteworld.com/projects/siggraph_3.html

Tuesday, 15 April 2014

Creating rock cliff using ZBrush

A major asset in my scene is the water flowing from the rocky cliff. I noticed it wasn't very rock-like and needed retouching up as it brought the environment down.
From using ZBrush more recently i am more confident that i can create an improvement, which was very much needed.
So to start i will be taking a quick manipulated polygon from Maya and exporting it into ZBrush. I subdivided it equally so it divides nicely in ZBrush as well as extruded the faces inwards to define the basic shape more instead of having to sculpt it inwards.

To build up the surfaces to make it look like hard rock  i used the planar and clay tubes brush and then making sure the geometry was high i used the noise tool under surfaces to create fine detail. Once i created the high poly mesh i exported into Maya and then made a low polymesh using the decimation master.


Now using the materials in UDK i am able to create a mask with a base texture and a tileable diffuse and normal to create a detailed texture.

Using this newly created geometry i decided that it would look more interesting if i created a cave area above where the first waterfall is coming from and then suggests that the water is flowing from higher up.
It gives the scene a sense of size and is definitely captured when you have a character to use as reference for scale.


Sunday, 6 April 2014

Week 10

This week everything i had planned to make needs to be inside of UDK finished ready for my video presentation next week.

At the moment i have been posing the character with my rig that i created and then i will importing it into UDK.

Using 3dMotive tutorial on the pipeline of animation inside UDK.


Website address: https://www.3dmotive.com/v105005

Friday, 4 April 2014

Week 9

As there are only a couple of weeks left towards the final deadline, I am continuing to polish my assets.

The lecture this week we looking briefly at the Graphics pipeline. This will be covering how graphics cards deal with rendering geometry.

I find these presentations rather interesting and helpful, it's nice to learn a bit behind what goes on with the hardware you're using by briefly covering it.